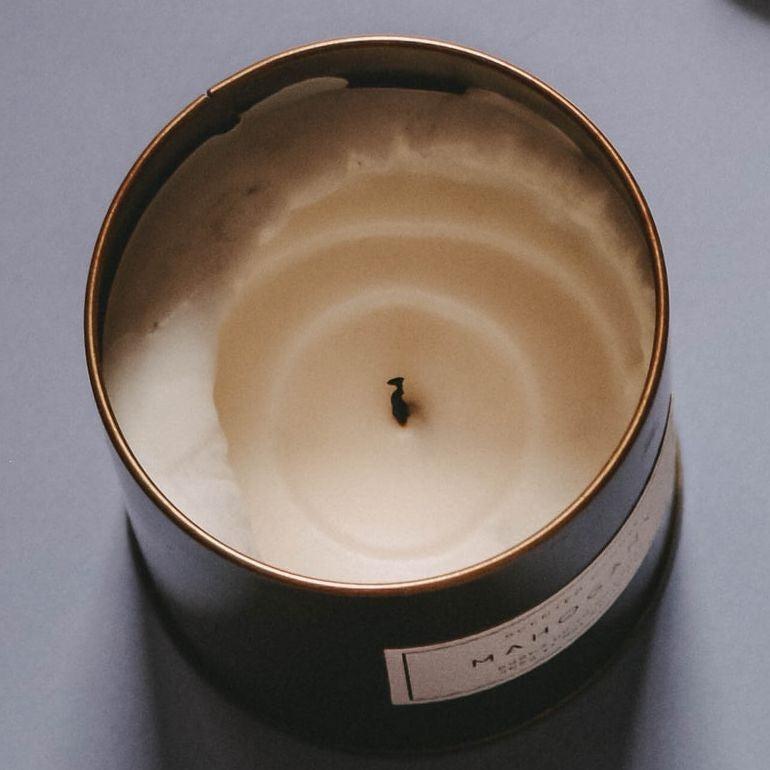
- Trim the wick: The first thing to check is the length of the wick. If the wick is too long, it can cause the candle to burn too hot, leading to tunnelling. Trim the wick to ¼ inch before lighting it to prevent this from happening.
- Burn the candle for longer periods: If the candle is only lit for a short time, it may not have enough time to melt the wax evenly across the surface. The rule of thumb is to burn a candle for one hour for every inch of its diameter. So, if you have a 3-inch diameter candle, burn it for at least three hours to prevent tunnelling.
- Create a "memory ring": This trick involves burning the candle for long enough to create a "memory ring" around the edge. This means that the wax has melted all the way to the edge of the candle, creating a ring around the perimeter. This helps the candle burn evenly and prevents tunnelling in future burns.
- Use a candle warmer: If you have a candle that is already tunnelled, you can use a candle warmer to melt the wax and level it out. Simply place the candle on the warmer and let it melt the wax until it reaches the edges. This will help the candle burn more evenly in the future.
- Re-purpose the wax: If you have a candle that is tunnelled beyond repair, don't throw it away! You can melt the wax down and use it to make new candles or other crafts. Simply remove the wick and heat the wax in a double boiler until it melts. Then, pour it into a new container or mold and let it cool.
You can always have a go at fixing your tunnelled candle by following the tin foil method as outlined below. And yes it can work.
- Trim your wick, and light the candle.
- Wrap the foil around the top of the candle.
- Leave an opening at the top so that the fire doesn’t extinguish.
- Let the candle burn for an hour or so until all of the built-up wax on the edge of the vessel melts.
- Remove the foil, and enjoy your perfectly level candle!

